Hi crafty friends!Wow, how can it already be February.Time sure is flying.If you came here from the Pear Blossom Press Blog, welcome.So glad to have you here!The Pear Blossom Press and Pink & Main‘s Design Teams recently had a Collaboration Instagram Hop.I am loving these two companies products together, so that is what I did for my card today.
I decided as fun as EZ Lights are they are even more fun when the card also has an Action Wobbler on it.Make sure to check out my Instagram to see the Wobbler in action.It is fun to have the word dies move.It is a bit unexpected.
ALL SUPPLIES ARE LISTED BELOW!
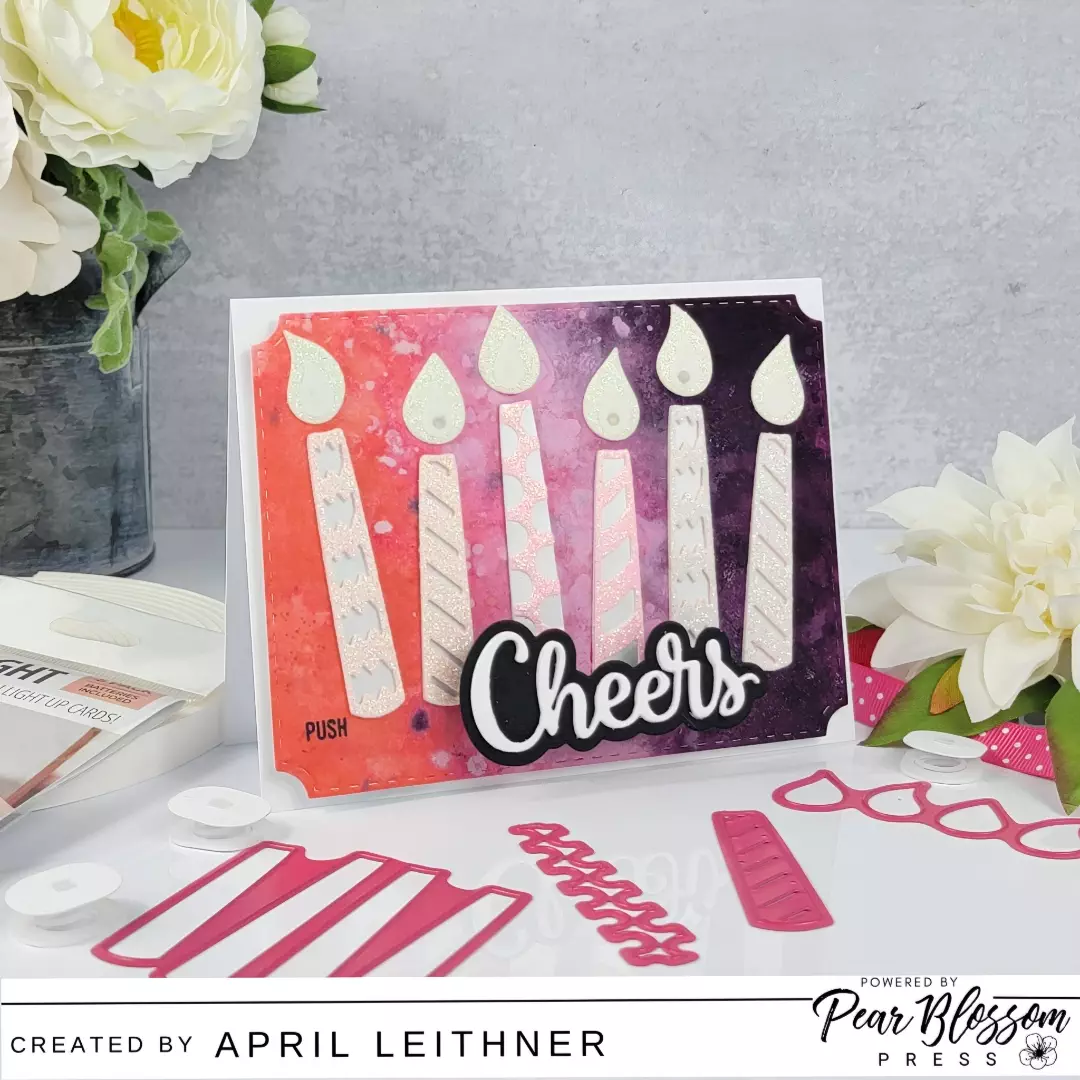
I started my card by creating my background panel.I used Distress Spray Stains in Saltwater Taffy and Seedless Preserves as well as Picked Raspberry Distress Oxide Spray.I sprayed layers added water and spatters making sure to dry between each layer.Once this was completely dry, I used the Notched Corners Die Set from Pink & Main to die cut this background panel.
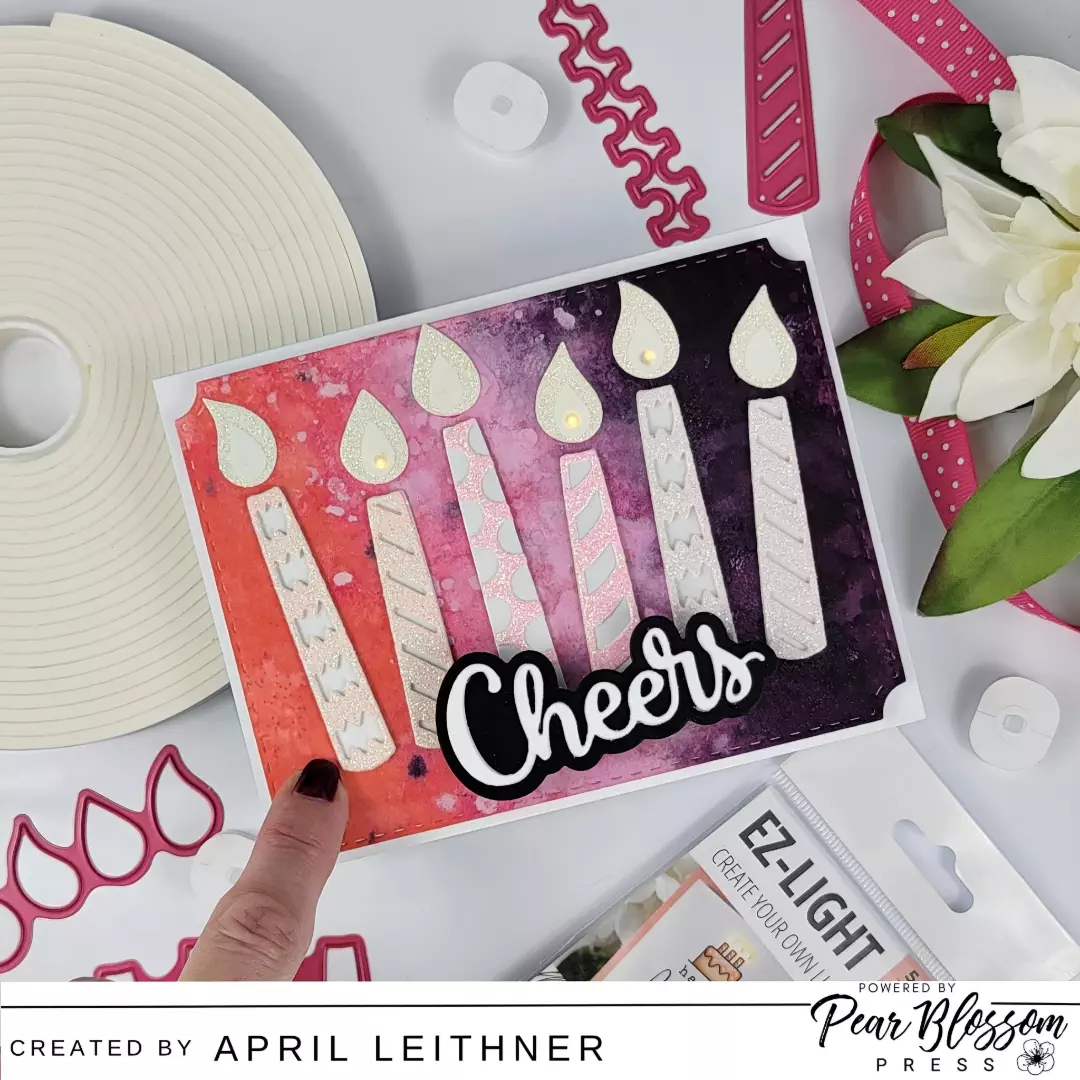
I used glitter and foil paper to create my candles using the Pink & Main Decorative Candles Die Set.I glued all the pieces together. After I adhered my candles and the flames in place, I punched holes for lights in three of the candles. I added Vellum to the candle flames.You can’t really see it well in photos, but it helps to mute the holes in the flames that are there for the lights.
I stamped PUSH from the PB Press Stamp and Die Bundle in one corner, so I would know where to put the button on my battery pack.
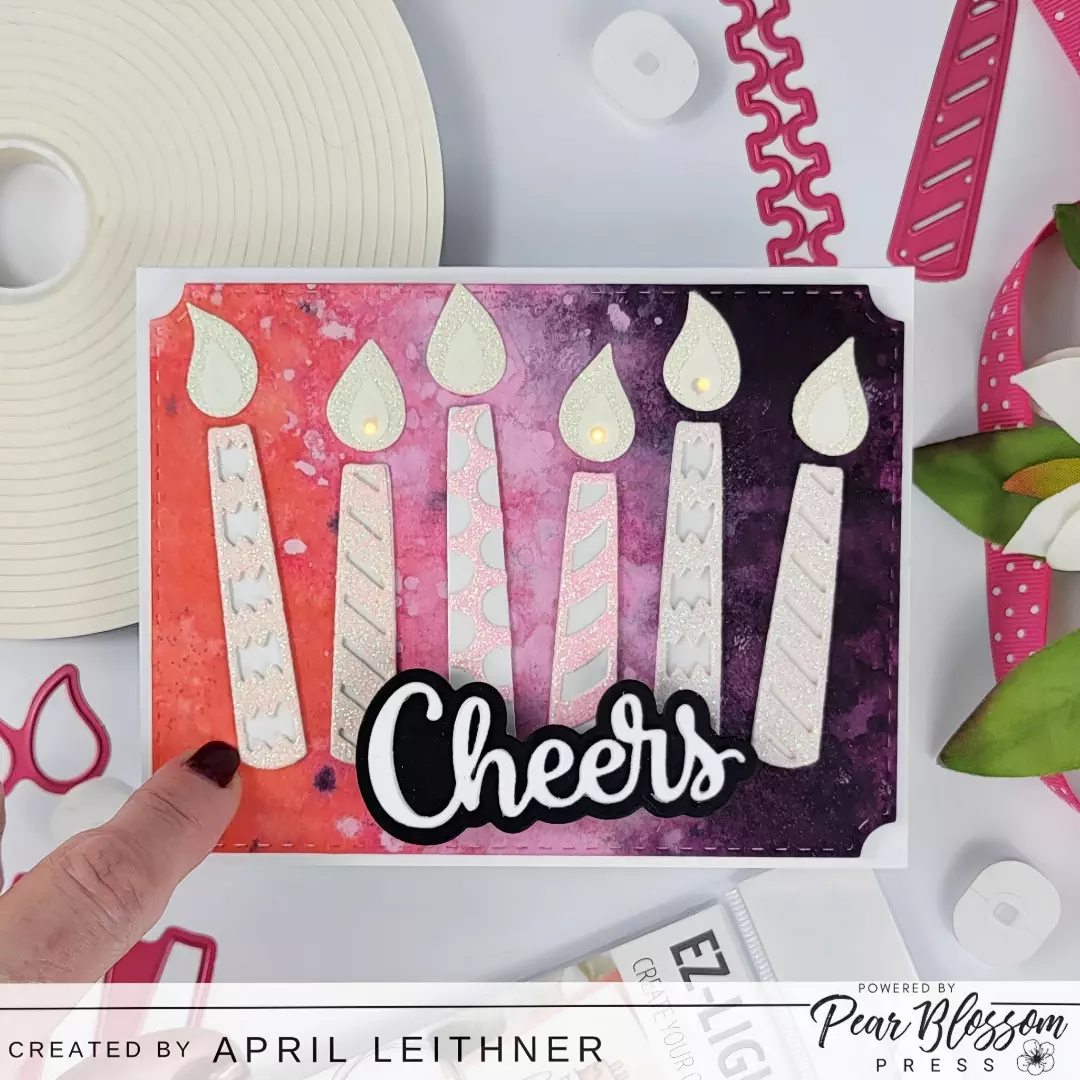
Next, I turned my panel over to add my EZ Lights.These lights are so super fun and add so much to any card.I taped my lights behind the holes.I like to use clear tape and tape over the light and hole so that the light can’t move.I then placed my battery in the lights and decided where I wanted the battery pack.I like to place my World’s Greatest Foam Tape very close to my battery pack so that it doesn’t move at all when the card is assembled.I covered the back with foam tape placing the foam tape directly over the wires.


Then, I removed the release paper and placed the panel on a heavy weight card base. The World’s Greatest Foam Tape allows you to move it for 30 minutes before it adheres permanently.This gives you a little time to get things placed exactly where you want it.I love this!!
Using the word die from the Party Hat Die Set from Pink & Main, I created my sentiment.I die cut the shadow from black cardstock and the word from white cardstock. I also layered the word 4 times to make it stand out more.I adhered all of these together.

I placed an Action Wobbler behind the ‘CH’ on the sentiment.Even though this is not in the middle of the word, it still looks and works perfectly.This was then placed on the card.

I love how fun this card is and know that whoever receives it will smile when they see it.Again, thanks to those who came here from the Pear Blossom Press Blog.Their blog is packed with wonderful light up cards.Thanks for stopping by, and I will see you next time!
Happy crafting,April
–SUPPLIES–
Glassboard Studios 20% Discount Code INKY20

**Affiliate links are used when available at NO EXTRA COST to you! When you use my links to shop, I do receive a small commission which helps me continue to bring you new content. Thank you for your support!**